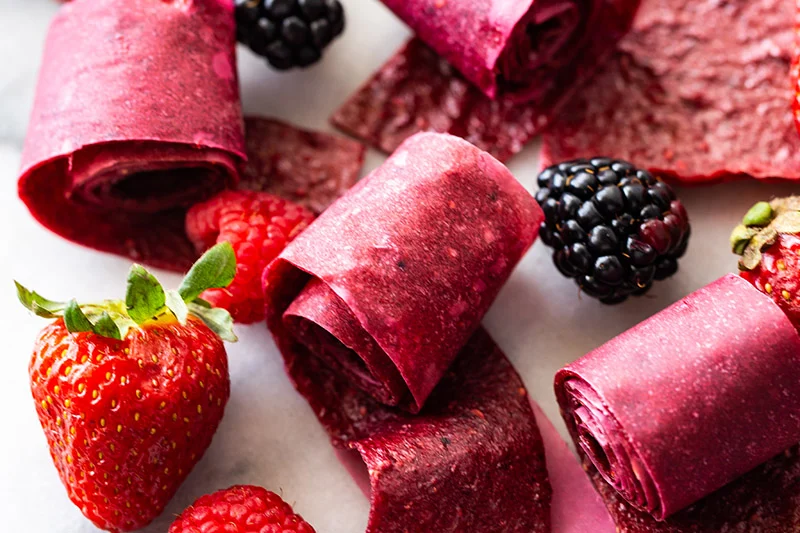
Looking for a healthier, homemade alternative to sugary store-bought snacks? Homemade fruit roll-ups are the perfect solution! Packed with natural fruit and free from artificial additives and preservatives, these fruit roll-ups give you all the sweetness you crave without the guilt. They’re not only delicious but also a great way to sneak more vitamins and fiber into your diet. Plus, you can customize the flavors to suit your taste!
What You’ll Need:
- 2-3 cups of fresh or frozen fruit (mix and match your favorites like strawberries, mangoes, apples, or raspberries!)
- 1 tablespoon of honey or maple syrup (for a natural sweetener)
- A pinch of lemon juice (to brighten up the flavors)
- A baking sheet
- Parchment paper or silicone baking mats
Steps:
-
Prep the Fruit: Start by washing your fruit thoroughly. If you’re using larger fruits like apples, peel them and remove any seeds. For berries, just give them a rinse! Slice them into smaller pieces for easier blending.
-
Blend to Perfection: Toss the fruit into a blender or food processor. Add your sweetener (honey or maple syrup) and a squeeze of lemon juice to balance the flavors. Blend until smooth.
-
Prepare the Baking Sheet: Line your baking sheet with parchment paper or a silicone mat. Pour the fruit mixture onto the sheet and spread it evenly with a spatula to create a thin layer. The thinner the layer, the quicker the roll-up will set.
-
Bake: Preheat your oven to 170°F (or 75°C). Place your tray in the oven and let it bake for about 6-8 hours. Check it periodically—you’re aiming for a leathery texture, not a crispy one. Be patient! Low and slow is the key here.
-
Let it Cool: Once the fruit leather is done, remove it from the oven and let it cool completely. If it sticks to the paper, you can easily peel it off.
-
Cut & Roll: After cooling, slice the fruit leather into strips using a sharp knife or kitchen scissors. Roll them up tightly, and voilà! Your homemade fruit roll-ups are ready to enjoy.
Why DIY?
Making your own fruit roll-ups means no artificial flavors or preservatives, just pure, natural fruit goodness. According to the Environmental Working Group, the dangers in a over the counter snack have deep rooted connections to cancer found over 30 years ago!
The rainbow of colors in fruit snacks comes from artificial food dyes of concern, including Blue No. 1, Red No. 40, Yellow No. 5 and Yellow No. 6. These colorants are added to popular lunchtime treats like Sunkist Fruit Snacks, Welch’s mixed fruit snacks, Fruit by the Foot, Gushers, and Funables. Red Dye No. 3 is particularly alarming because studies have shown that very high doses can cause cancer. It’s found not only in fruit snacks but also in fruit cups like Dole Cherry Mixed Fruit cups and Schnucks Mixed Fruit in Light Syrup cups. The Food and Drug Administration banned the use of Red No. 3 in cosmetics in 1990 after concluding it causes cancer in rats. But the agency still allows its use in food. (EWG)
So between the harmful chemicals and a chance to know what is in your snack, you can get creative with the flavors by mixing different fruits, or even adding a sprinkle of cinnamon or a dash of vanilla for an extra twist!
Pro Tips:
- Flavor Combinations: Try adding a handful of spinach or kale for a green twist, or mix in a bit of coconut for tropical vibes. Or you can make your favorites like strawberry kiwi, cherry lime, and more.
- Storage: Store your homemade fruit roll-ups in an airtight container or wrap them individually in parchment paper for easy grab-and-go snacks.
Enjoy the sweet satisfaction of homemade goodness with this easy DIY project. It’s fun, healthy, and a great way to showcase your culinary creativity.
Use the video below from Just a Taste to guide you through the process.

